


Equipment reservation app: prevent conflicts and track returns
Plan an equipment reservation app that prevents double bookings, records returns and damage, and places faulty items on maintenance hold.
Set up the SMTP module and send emails directly from your application.
The Custom SMTP module adds basic settings to allow you to send emails directly from your application.
To make the form for sending letters to appear in the application, you need to add the missing settings and necessary elements. The algorithm of actions will be as follows:
Let's show how to do this in a web application using the Gmail mail service as an example.
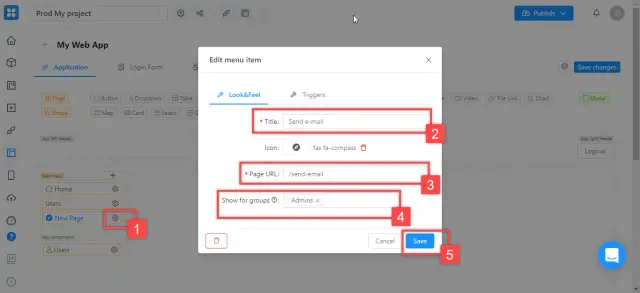
Go to the editor and create a new page from which you will post. Indicate the name of your page ("Title"), its address ("Page URL"), and groups of users who can send messages ("Show for groups"). Click “Save”.
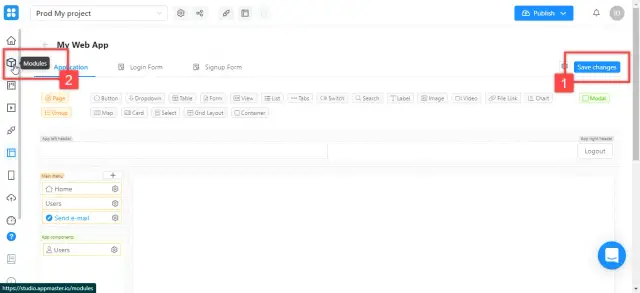
Save your changes and go to the module block.
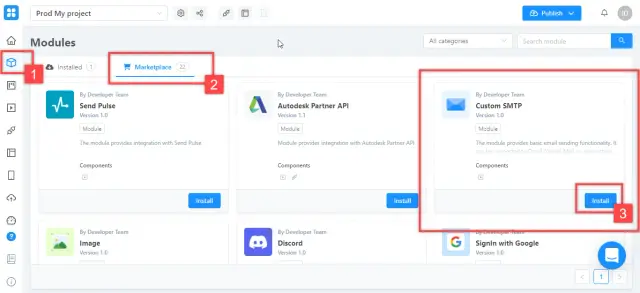
Find the Custom SMTP module in the Marketplace tab and click the Install button to add it to the application.
Go to the "Installed" tab, where all the modules installed in your application are located, and click on the "Custom SMTP" box to open its settings. Basic information about the module and a button to remove it from the application are displayed on the left. On the right are the fields that you need to fill in:
Important! To send messages via Gmail, you need to enable third-party applications in your Google account.
For more information on what modules are, how to update and customize them, see our documentation .

Remember to save your changes.
The business process, endpoint, and form are interrelated elements that are important to set up consistently. By interacting with each other, they will complete the configuration of your application - and the form for sending a message will appear on the page.
You can read more about these elements in our documentation .
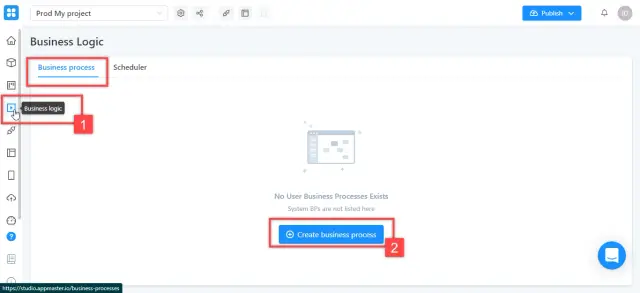
Go to the "Business logic" tab and click on the button to create a new business process.
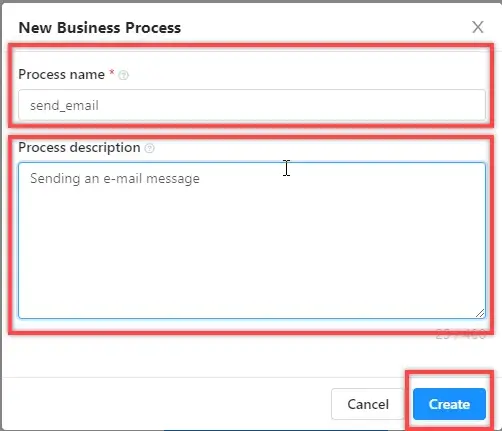
Enter the name of the process (required), its description (optional), and click the "Create" button.
Each business process in the editor is visually divided into blocks - constituent parts responsible for different functions. When a new process is created, "Start" and "End" appear automatically in it. All other blocks that you can add will be displayed on the left.
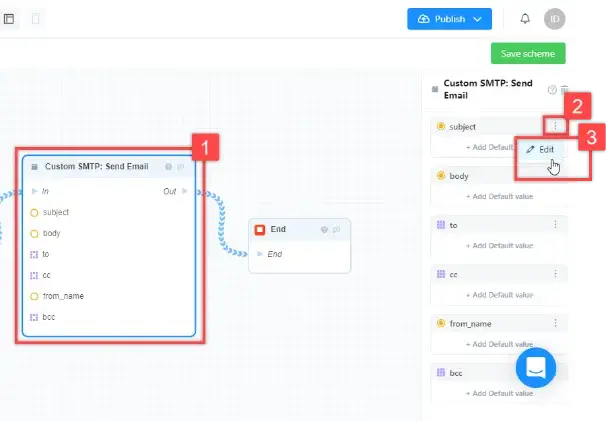
After installation, the "Custom SMTP" module added "Custom SMTP: Send Email" to this list. To include this block in a business process, drag it to the editor field using the mouse pointer. The "Custom SMTP: Send Email" window will appear, the fields of which contain the variables on which the content of your future message sending form depends:
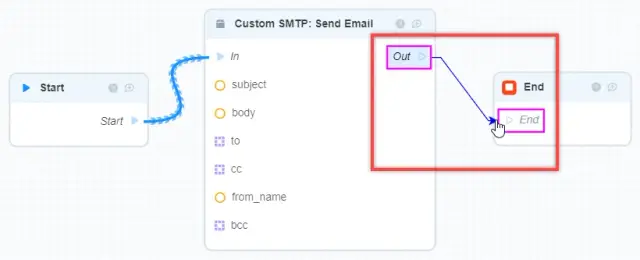
Now you need to link "Start", "Custom SMTP: Send Email" and "End" - to show that they constitute a single business process:
1. Move the mouse pointer over the "Start" field in the "Start" block, hold down the left mouse button, and swipe to the "In" field in the "Custom SMTP: Send Email" block - a connection is formed between the blocks.
2. Similarly, create a link between the "Out" field of the "Custom SMTP: Send Email" block and the "End" field of the "End" block
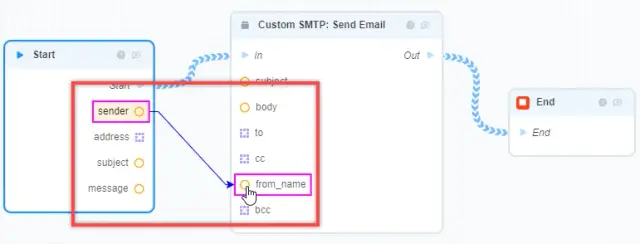
Now, in the "Start" block, you need to create new fields (variables) and associate them with variables in the "Custom SMTP: Send Email" block. The fields that you add to the "Start" block will appear in your message submission form. Imagine that you will not send copies and blind copies, so the "Start" block will contain the following fields:
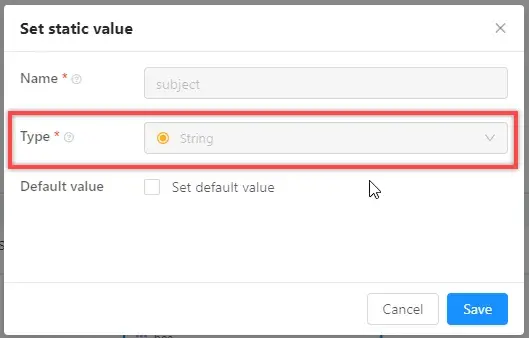
To bind variables, they must match each other in type. The type of a variable can be viewed by clicking on the block in which it is contained and opening the edit menu.
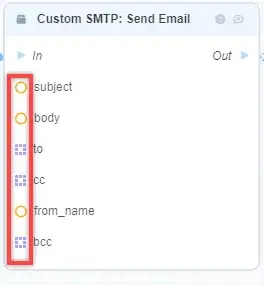
In the fields of the blocks, next to each variable there is an icon, the color, and shape of which depends on its type - to make it easier to navigate in them. In our example, there are two types of variables:
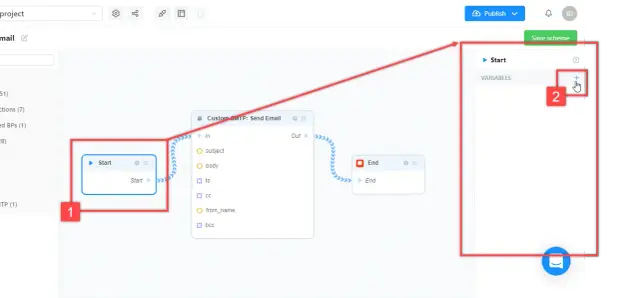
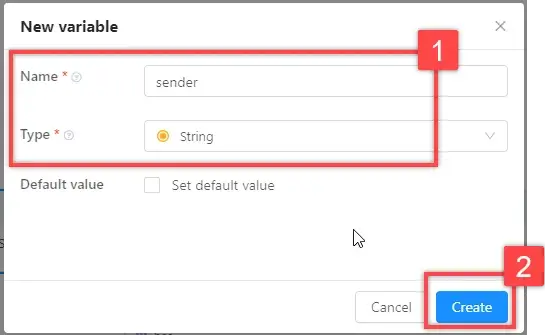
To create the first variable in the "Start" block, click on it - a list will be displayed (while it is empty). Click on "+".
In the opened window, enter the name of the variable: name "sender", type "String". Click "Create".
Similarly add "address", "subject" and "message". Now the list of variables in the "Start" block looks like this:
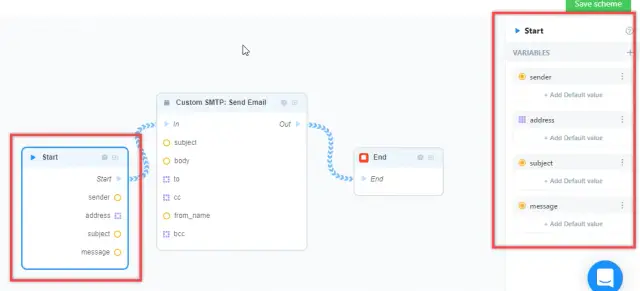
Link them to the corresponding variables in the Custom SMTP: Send Email block:

This is how the relationships between the variables should look like in the end. Save your changes and proceed to create the endpoint.
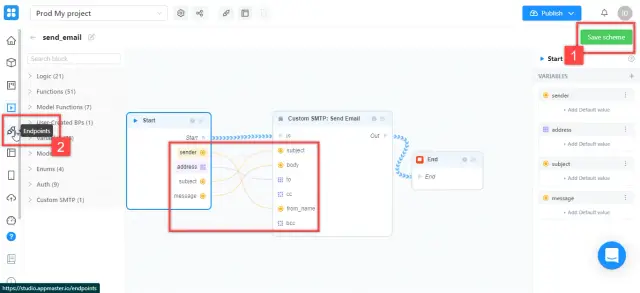
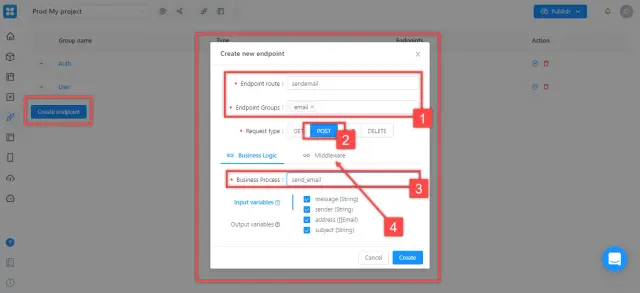
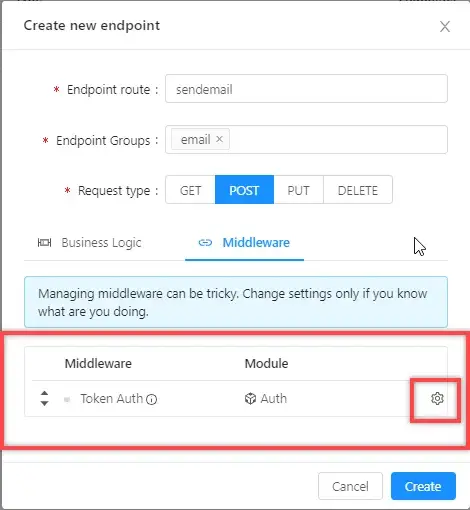
Click "Create endpoint" - you will find yourself in the settings on the "Business Logic" tab, here you need to specify the following settings:
Then go to the "Middleware" tab.
On the “Middleware” tab, you need to configure the rights to perform actions with this endpoint (and, therefore, to launch the associated business process). In other words, you will specify who can send emails from your application. To do this, you need to change the setting of the "Token Auth" authorization token.
Attention! If this setting is not changed, then all users will have the right to send emails!
Click on the gear icon next to “Token Auth”. In the opened window, turn on the selector, in the "Allowed groups" field, select the "Admins" group (or any other that you want to give access to). Click "Save"
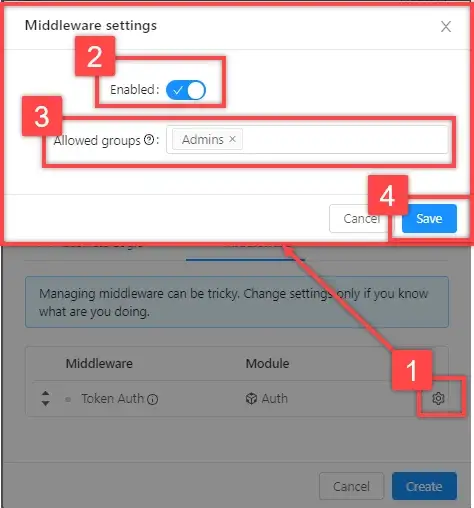
Now save the endpoint by clicking "Create".
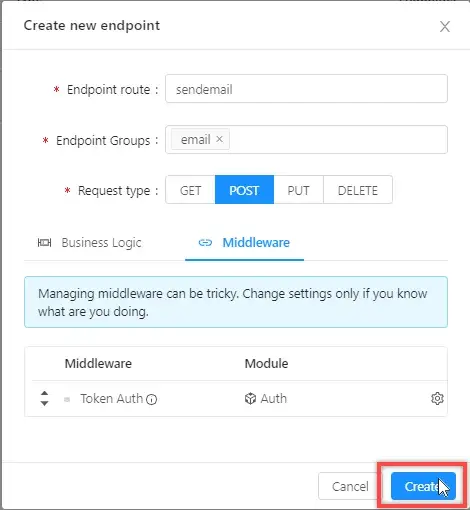
Message sending processes are configured. Now you can create a visual representation of the message submission form.
To create a form, return to the web application editor, to the tab you created earlier. Drag a Form element onto the page canvas.
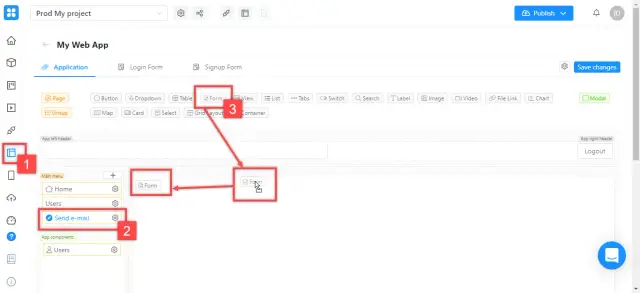
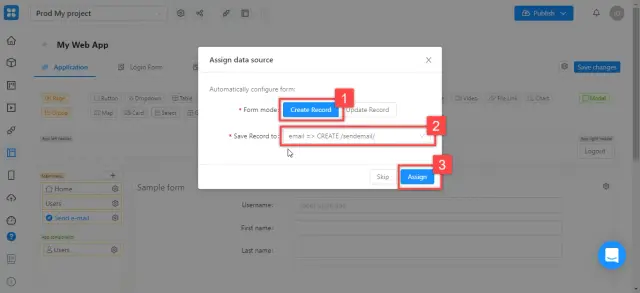
In the opened window, click "Create record", the list of available endpoints will be displayed in the "Save Record to" field - select the one that you just created. Click "Assign".
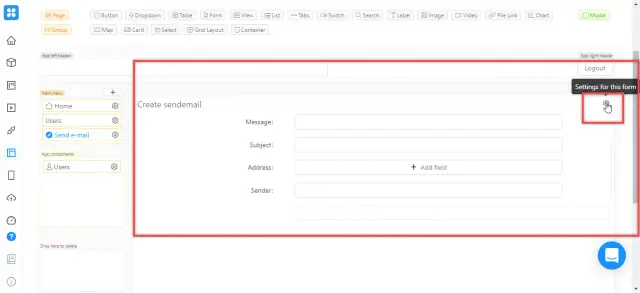
The shape you created appears on the canvas. Click the gear image to go to its settings.
On the “Look & Fee”l tab, enter a title for the form in the “Title” field. Here you can also change its appearance and see the name under which it is recorded in the settings.

On the "Data" tab - information about the mode of the form and the endpoint. Also here you can change the location of the fields by moving them relative to each other.
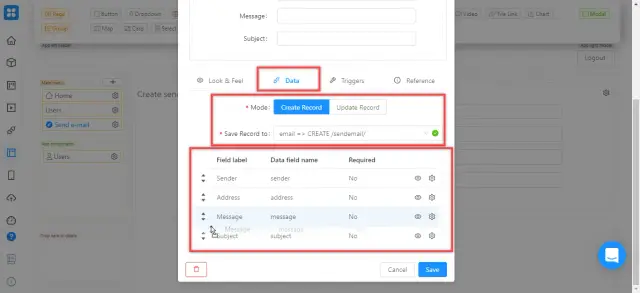
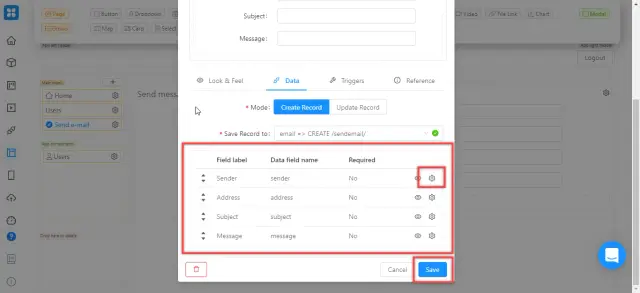
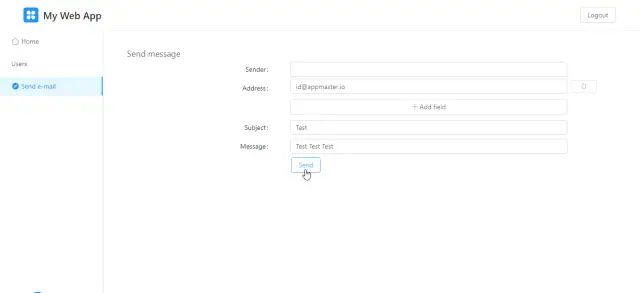
Arrange the fields in a logical order: Sender, Address, Subject, Message. To change the detailed settings for each field (for example, its name) - click on the gear icon next to it. Click “Save” to save your changes.
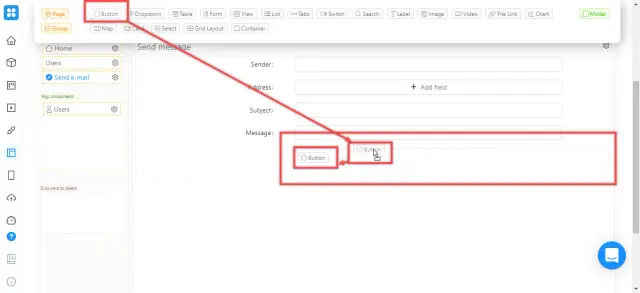
For the form to work, you need to add a submit confirmation button. Use the "Button" element - drag it with the mouse pointer to the area below the form.
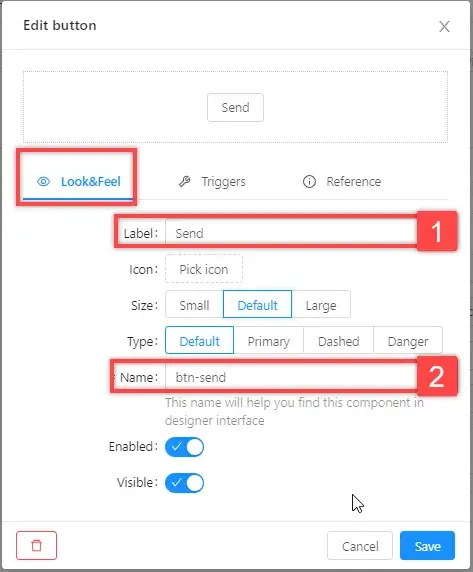
Open the button settings by clicking on it. On the “Look & Feel” tab, change the “Label” (the name of the button that will be visible in the application) and “Name” (the name that will be displayed in the settings).
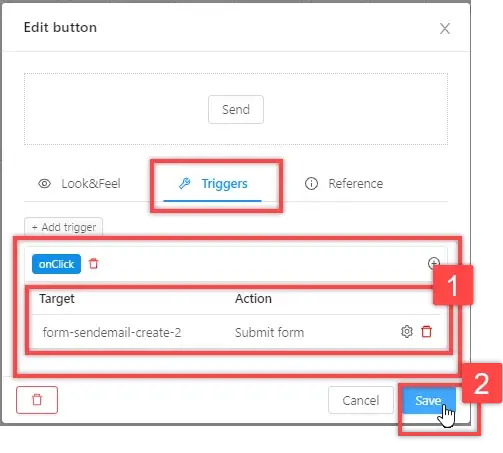
On the "Triggers" tab, add an action to the onClick trigger: in the "Target" field, select your form, in the "Action" field, select "Submit form". Click “Save”.
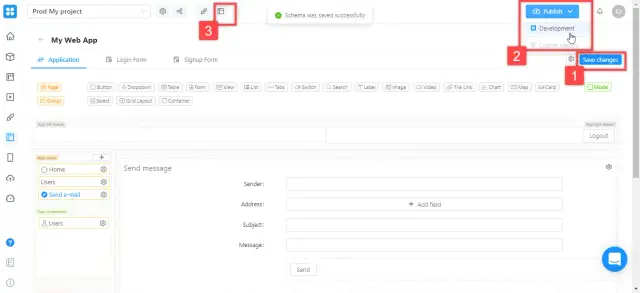
Save all the changes made, publish them, click on the go to the application icon.
Enter the data to send the message. If you leave the sender field empty, the name you entered in the module settings will automatically be added. Send a test message to any email address that you have access to.
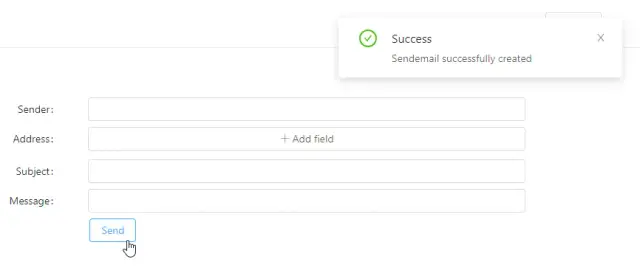
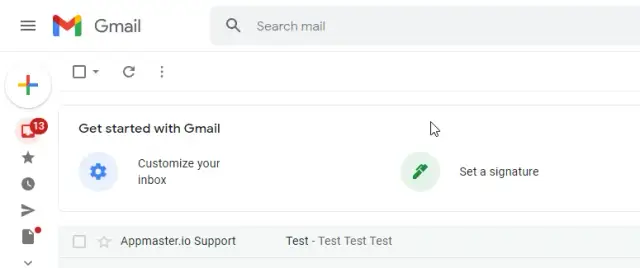
After sending, a confirmation message should appear, and a letter with the specified data will appear at the addressee in the Inbox folder.
If you did everything according to the instructions, but instead of confirming an error comes out or the letter ends up in the "Spam" folder, write to our technical support telegram channel.
Experiment with AppMaster with free plan.
When you will be ready you can choose the proper subscription.


