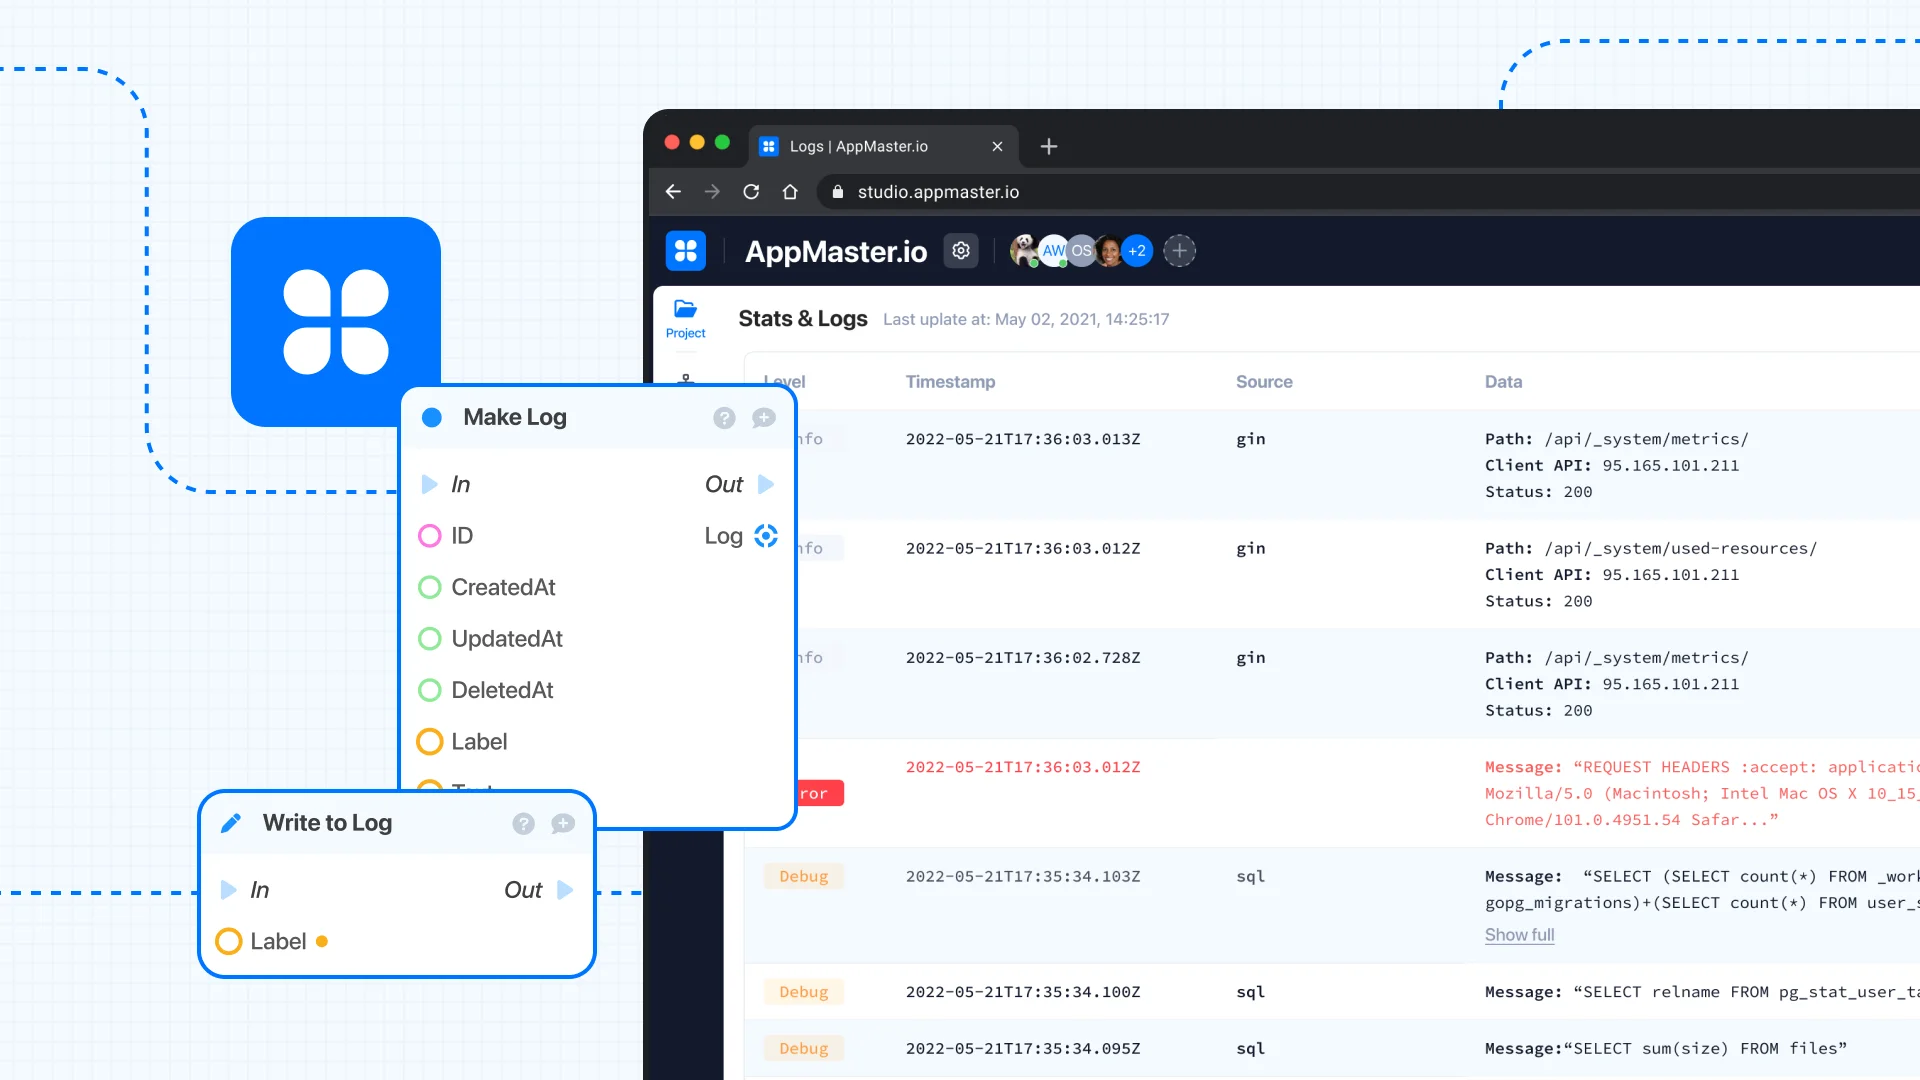
Table set properties and Table update properties blocks are used to design tables.
At first glance, these two blocks seem to be the same. The difference is in how they work:
Table Set Properties block completely changes the current settings. Even if you set only one input field, all fields will change; they will become empty. Table Update Properties block only changes the specified fields, so it's a great solution if you only want to change table settings partially.
Let's see what kind of display settings can be applied to tables.
The settings are set using input fields in the Table set properties and Table update properties blocks. There are the following fields:

- Component ID – determines which table the changes will be applied to;
- Title of the table;
- Style– resizes rows in the table;
- Pagination– responsible for multi-page tables; it can be used in a table with a large number of entries not to overload it;
- Bordered– borders in the table;
- Visible– show/hide the table;
- Loading– loading state; this option shows users that there are changes to the table.
The following settings only work when pagination is enabled:
- Current page – selection of the page of the table to display;
- Records for page– number of records per page;
- Total records – total number of records in the table.
Practical example
Let's use a simple table for the "Task" model.
The data was loaded from the database into the table using the onShow trigger. Let's set the display settings for it first. For this, use the Table set properties block.

In the Component ID, select the required table.

In Title provide the name of the table – To Do List.

Set Style – Middle.

Turn on Pagination.

Turn on Bordered.

It is necessary to turn on Visible. Otherwise, the table will not be seen.

Turn on Loading.

Set Current page to 1 to see the first page.

Records for page are limited to 5.

Total records are set to 10, for example.

All settings can be saved now.
More about Loading
The table has taken the required form. The only thing left, the loading status does not disappear. It can be easily fixed. To do this, change the value of loading. The loading status should appear when the data is loading into the tables and disappear when the process is complete.
So a business process is required that will change the properties of the table after the data load BP is completed.
The data loading block ends with the Table update data block, and there is an onDataUpdate trigger that will run after the tables are updated.

Assign a new BP to it. Take the Table update properties block to change only one field and turn off loading.


All the changes can be saved, and the table will be displayed as required.
onFilter trigger
Let's take a closer look at the onFilter trigger. It works only when pagination is enabled, when there is a transition through the pages of the table. It has two additional fields:
- _limit – transmits the number of records that are displayed in the table at the time the pagination is triggered;
- _offset – specifies which record to start processing from.
Let's set up the BP to demonstrate how the onFilter trigger works.
The onFilter trigger works when there is a transition from one page to another in a multipage table (pagination).
Let's take a table with three pages, each with five records.
Create a BP that will show data from the onFilter fields in the interface.
To do this, convert the _limit and _offset fields using the to string blocks and pass the result to the notification blocks.

When going from the first page to the second, two messages will appear: _limit - 5 and _offset - 5. It means there were five records on the previous page of the table (_limit), and the table is now processing records starting with the 5th (_offset). If going to the third page, there will be the following messages: _limit - 5 (because the previous page also had five records) and _offset - 10 (because the table processes records starting from 10).
onRowClick and onRowDoubleClick triggers.
Let's look at the onRowClick and onRowDoubleClick triggers. They work when there is a click or double click on a row. These triggers have a Record ID field that stores the ID of the clicked record. It is useful for creating linked tables and building hierarchies
To show how this trigger works, let's set up a BP that will display to the user the number of the line on which he clicked.
To string and Notification blocks are required. In To string pass the value of the Record ID field. And after the conversion, pass the resulting value to the Title field of the Notification block.


