


Equipment reservation app: prevent conflicts and track returns
Plan an equipment reservation app that prevents double bookings, records returns and damage, and places faulty items on maintenance hold.
An overview on how the AppMaster.io no-code platform solves the problem of accessing data for application users.
In this article, we will look at how the AppMaster.io no-code platform solves the problem of accessing data for application users.
It happens by introducing roles such as Users, Moderators, Admins, and other requirements. This solution gives more flexibility inside your built application and controls information and functionality access inside the built application.
The article will be useful to anyone who wants to dive into the functionality of the AppMaster.io platform and see its capabilities in terms of settings for accessing data by roles.
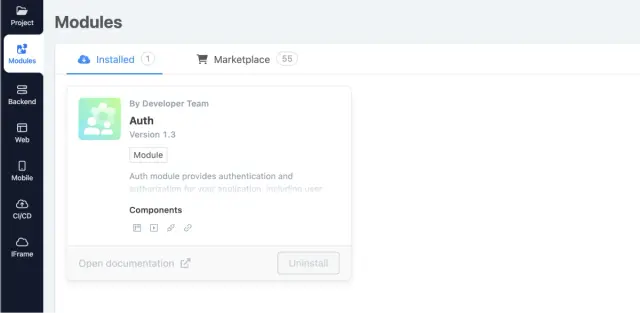
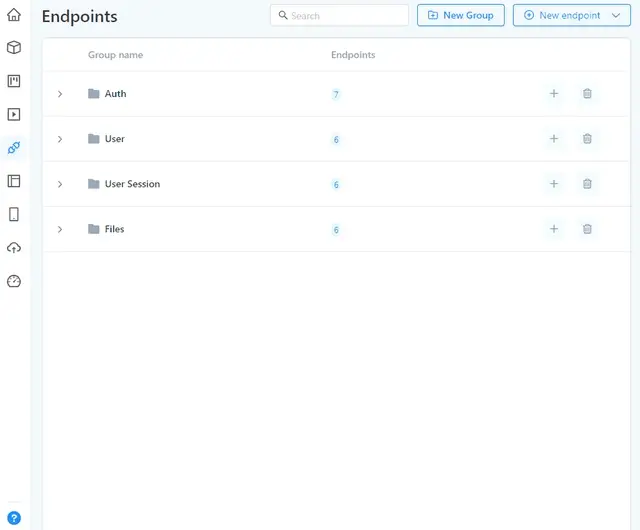
Registration in the assembled application on our platform is represented by the Auth module, allowing you to create and edit user groups and access their rights. The Auth module is already preinstalled into the project when it is created.
SignUp Groups— list of user groups that can register;
SignUp — includes the ability to register in the application;
Session timeout (minutes) — the time after which the current user session will end if the User is idle (in minutes). The default is 60 minutes;
Failed login delay (in ms)— delay time for a server response in case of an unsuccessful login attempt (in ms). The default is 0 ms;
Email confirmation required — an option that involves verification via email if enabled;
Signed-Up User Active— sets the active attribute to True for each registered User.
Groups — allows you to create and edit user groups.
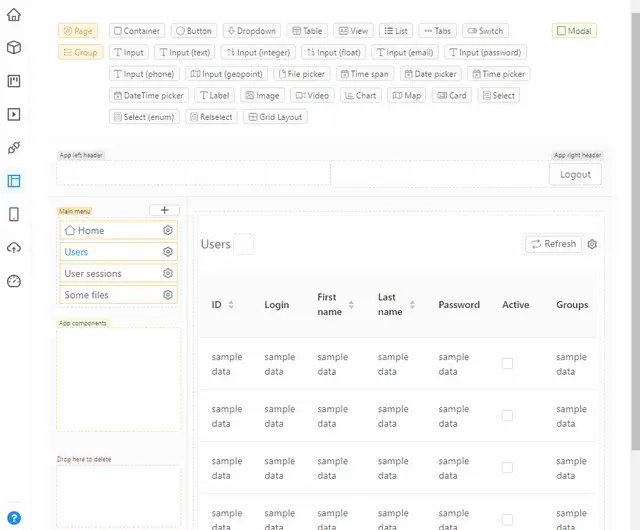
AppMaster.io uses the Data Model Designer to work with models.
User and User Session are two models automatically created in the Data Model Designer. Preinstalled data model fields cannot be modified or deleted, but new ones can be added.
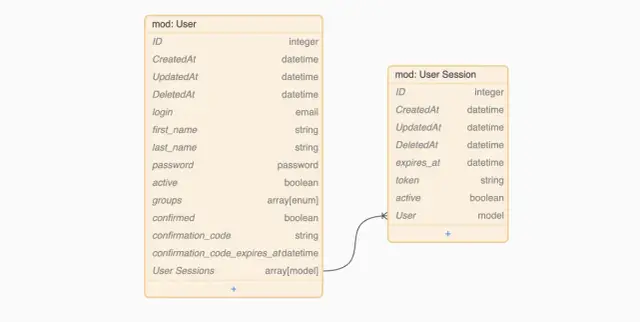
For these models, blocks of business processes (BP) are also automatically created.
DB: Delete User — delete object User from the database via ID;

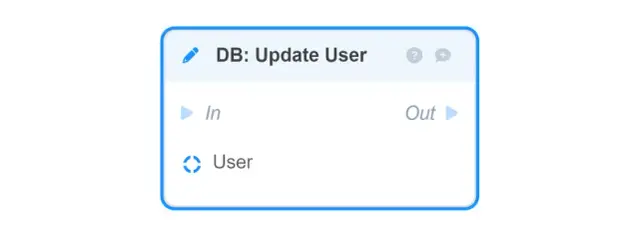
DB: Update User— resets all fields of the User-object block passed to the input in the database and updates them in accordance with the specified values (to change only the specified fields, the DB: Patch User block is used);
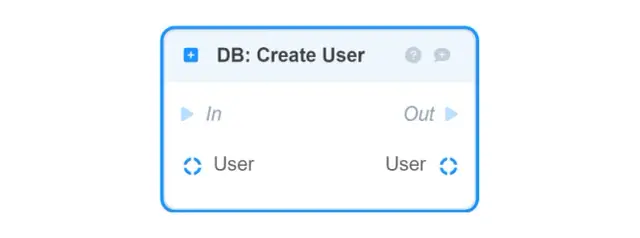
DB: Create User — stores in the database and returns the given User object (to build it from the given fields, use the Make User block);
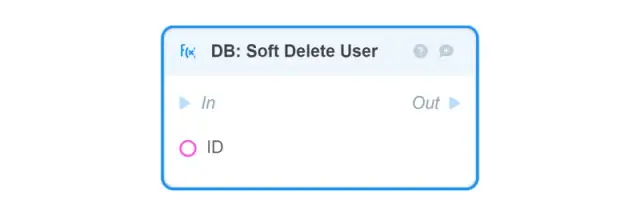
DB: Soft Delete User — updates the DeletedAt attribute on the User object and leaves it in the database;
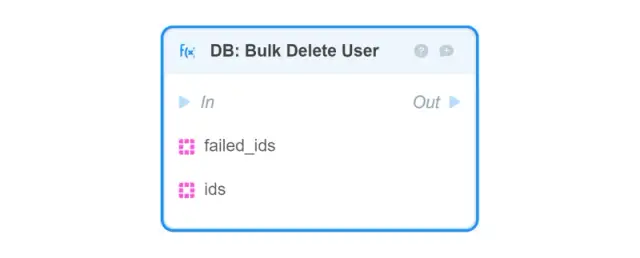
DB: Bulk Delete User — takes as input an array of IDs (ids) of User objects that will be deleted from the database;
failed_ids — an array of user IDs that will not be deleted;
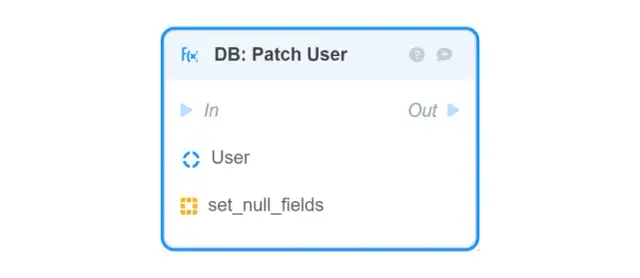
DB: Patch User — updates the specified fields of the User object in the database (to reset all fields, use the DB: Update User block);
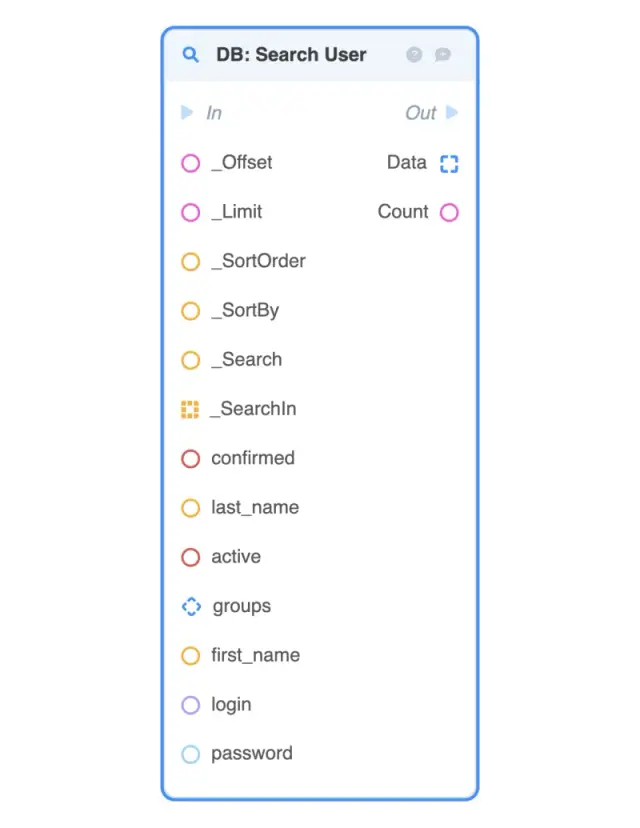
DB: Search User — finds one or more User objects in the database based on fields and returns them;
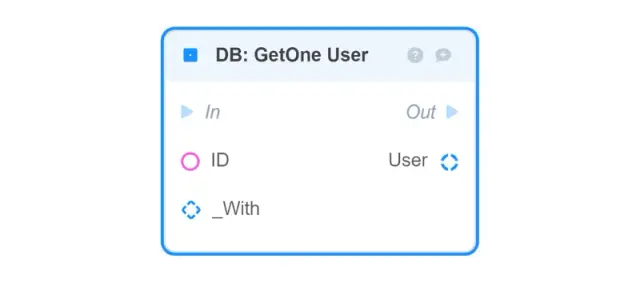
DB: GetOne User — finds the User object in the database by its ID and returns it;
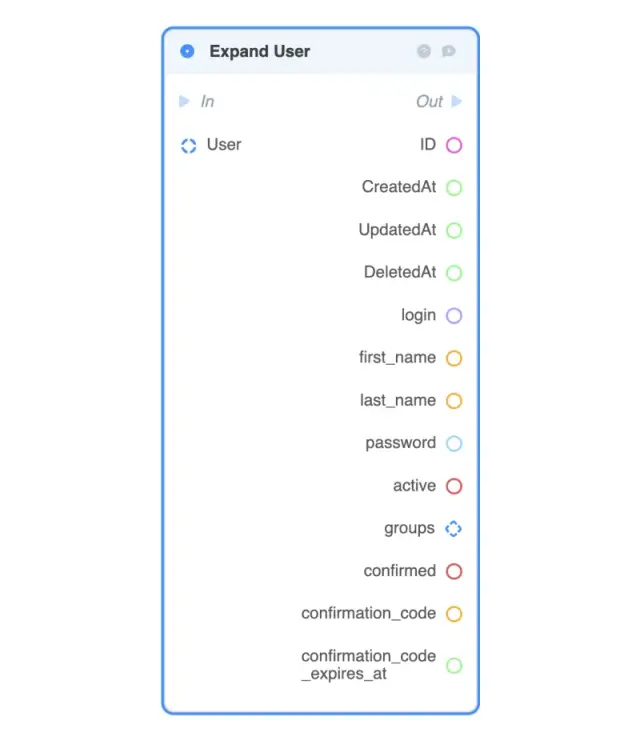
Expand User — returns all fields of the selected User object;
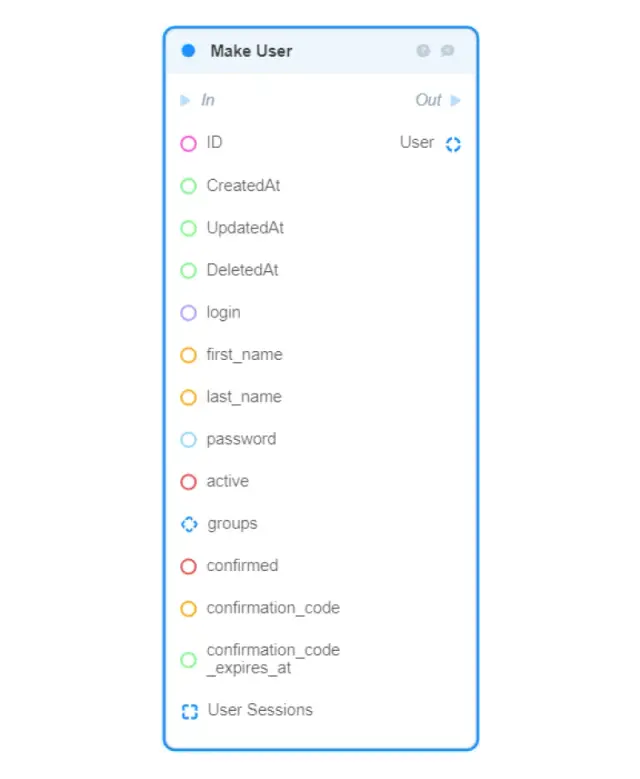
Make User — creates a new User object in memory from the given fields and returns it (to save the created object in the database, use the DB: Create User block);
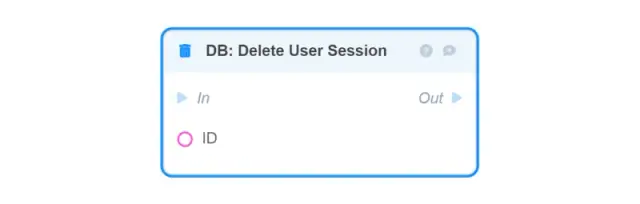
DB: Delete User Session — removes the User Session object from the database by the passed ID;
DB: Update User Session — resets all fields of the User Session object passed to the input block in the database and updates them in accordance with the specified values (to change only the specified fields, use DB: Patch User Session);

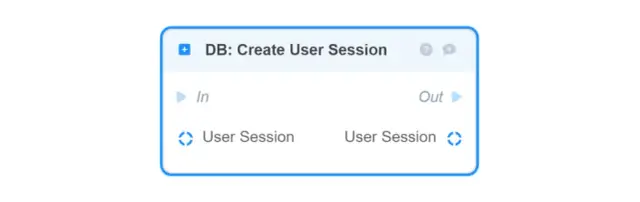
DB: Create User Session — stores in the database and returns the given User Session object (to build it from the given fields, use the Make User Session block);
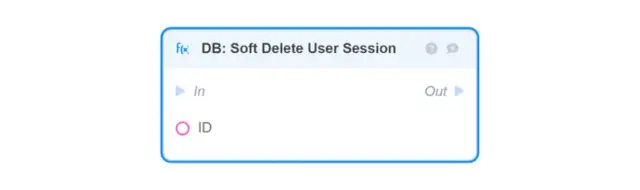
DB: Soft Delete User Session — updates the DeletedAt attribute of the User Session object and leaves it in the database;
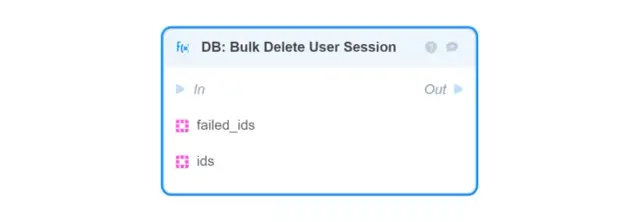
DB: Bulk Delete User Session — accepts as input a set of IDs of User Session objects that will be deleted from the database;
failed_ids — the array defines the set of IDs that will not be removed;
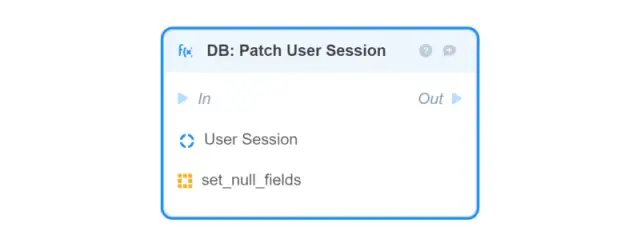
DB: Patch User Session — updates the specified fields of the User Session object in the database (to reset all fields, use the DB: Update User Session block);
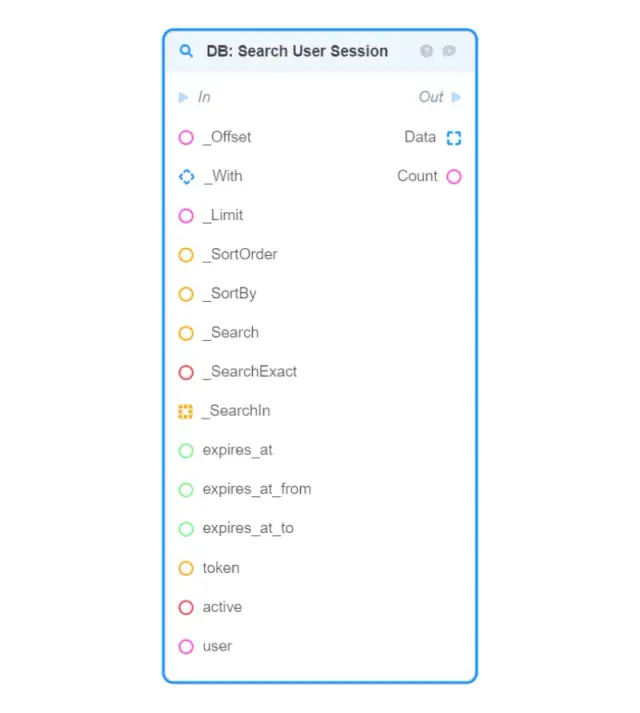
DB: Search User Session— finds one or more User Session objects in the database based on fields and returns them;
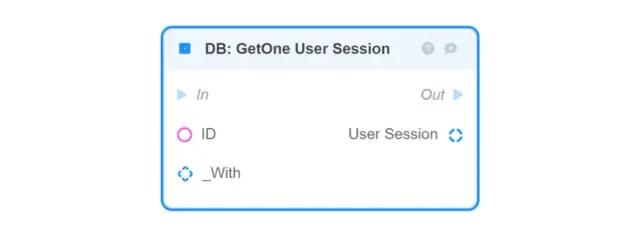
DB: GetOne User Session — finds the User Session object in the database by its ID and returns it;
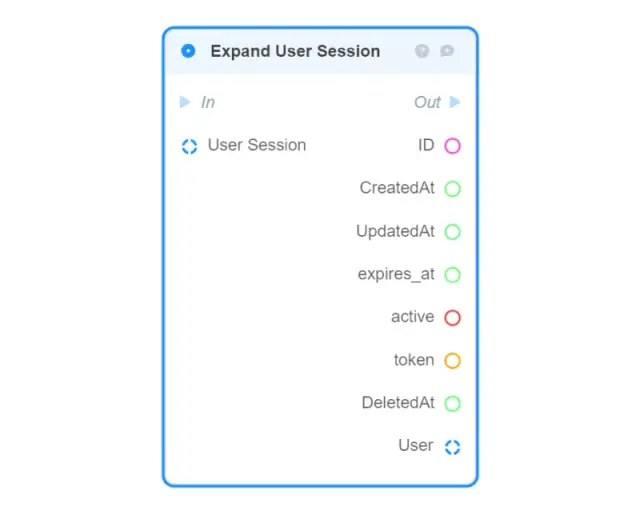
Expand User Session — returns all fields of the selected User Session object;
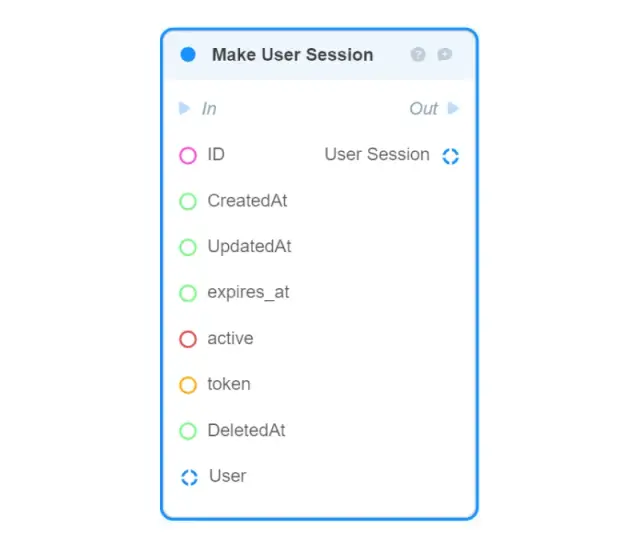
Make User Session — creates a new User Session object in memory from the given fields and returns it (to save the created object in the database, use the DB: Create User Session block);
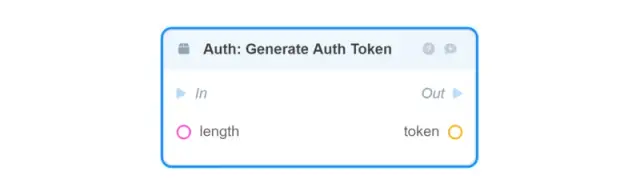
Auth: Generate Auth Token — generates an authorization token (Auth Token) of a given length;
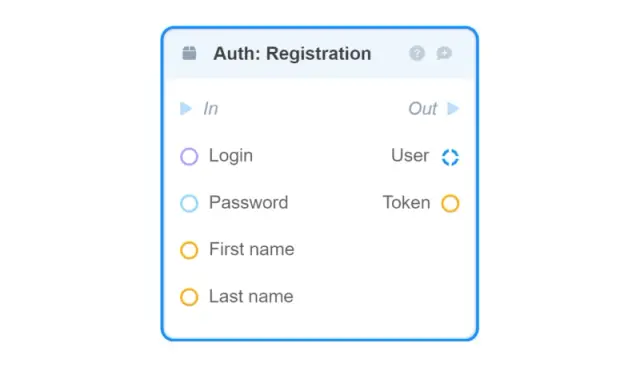
Auth: Registration — registers a new user;
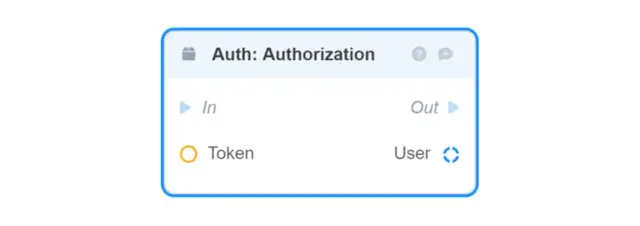
Auth: Authorization — checks if the Auth Token exists in the system and returns the user associated with it;
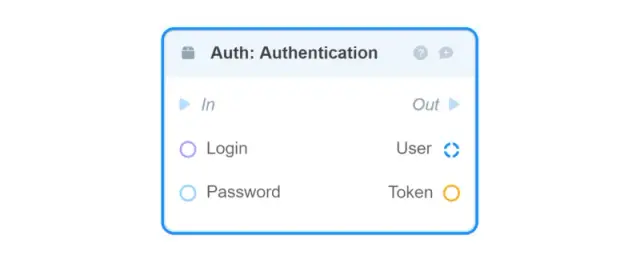
Auth: Authentification — checks the user's login and password and returns an Auth Token;
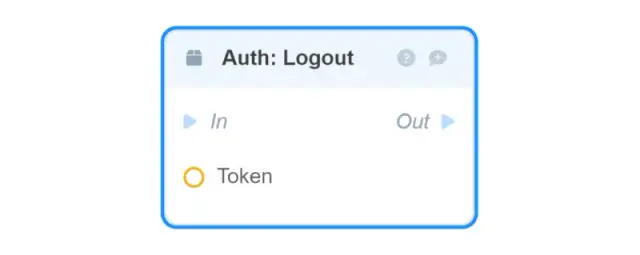
Auth: Logout — accepts an Auth Token and terminates the current user session;
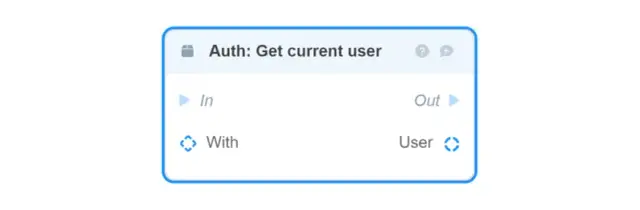
Auth: Get current user — returns the data of the current user;
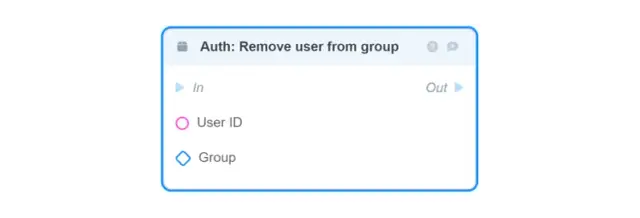
Auth: Remove user from the group — removes a user from the specified group by his ID (defined in the settings of the Auth module);
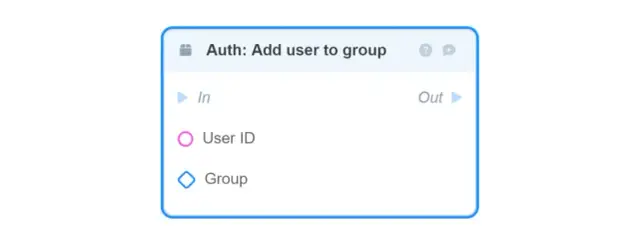
Auth: Add user to the group— adds a user to the specified user group by its ID (defined in the Auth module settings);
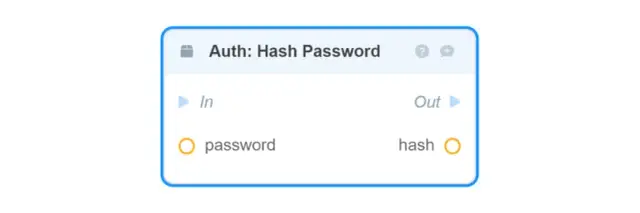
Auth: Hash Password — converting a password string to a hash;
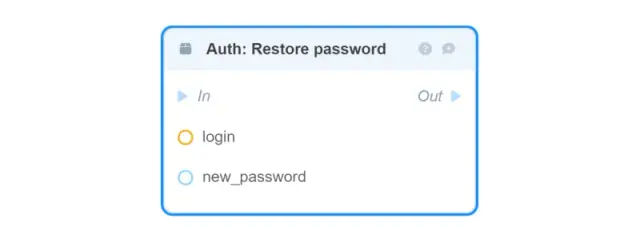
Auth: Restore Password — accepts the username and new password of the user, thereby resetting it;
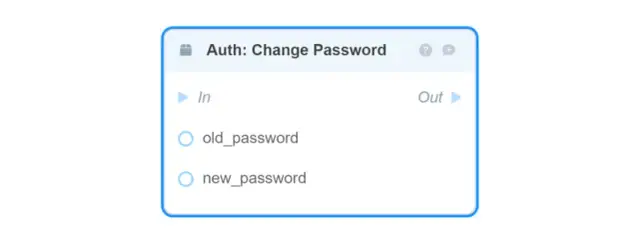
Auth: Change Password — replaces the current user password with a new one;
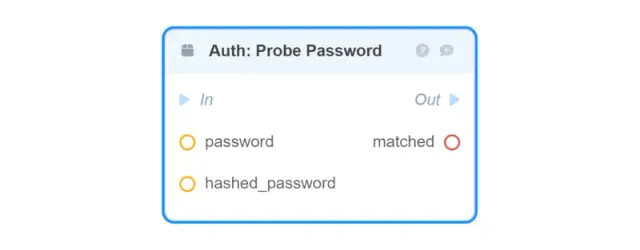
Auth: Probe Password — verification of password and hash matching;
The Endpoints of the Auth Module and the User and User Session models are automatically generated when the project is created.
Request typeEndpointConnected BP /logout/Auth: Logout
 /auth/Auth: Authentification
 /register/Auth: Registration
 /confirm/Auth: Registration
 /user/change-passwordAuth: Change Password
 /user/restore-password/Auth: Restore Password
 /user/profile/Auth: Authorization
Request typeEndpointConnected BP /user/:id/DB: Update User
 /user/:id/DB: Delete User
 /user/:id/DB: GetOne User
 /user/DB: Search User
 /user/:idDB: Patch User
 /user/DB: Create User
Request typeEndpointConnected BP /user-session/:id/DB: Delete User Session
 /user-session/:id/DB: GetOne User Session
 /user-session/DB: Search User Session
 /user-session/:id/DB: Patch User Session
 /user-session/DB: Create User Session
 /user-session/:id/DB: Update User Session
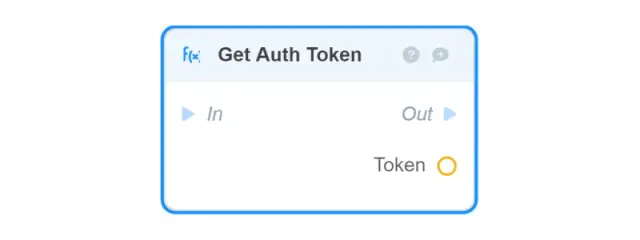
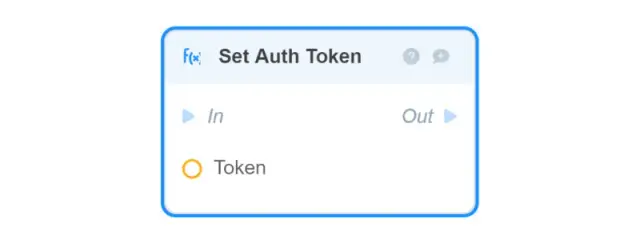
Auth Token is used as the current session token of the authorized User. In the web application BP, it is possible to interact with this token:
Get Auth Token returns the Auth of the current authenticated user session;
Set Auth Token overwrites the Auth Token of the current session of the authorized user;
Remove Auth Token deletes Auth Token the current session of the authorized user;

The example shows how to get the current user.
To do this, go to the Business logic tab and drag the Auth: Get current user block.
Next, an Endpoint is created for the created BP, which will be used to contact the server to get the current User's object.
Select the user group in the Endpoints section and create a GET request method for the newly created process to get the current User.
In the web application BP, make a request to the created endpoint (Server request GET /user_current) to get the current user.
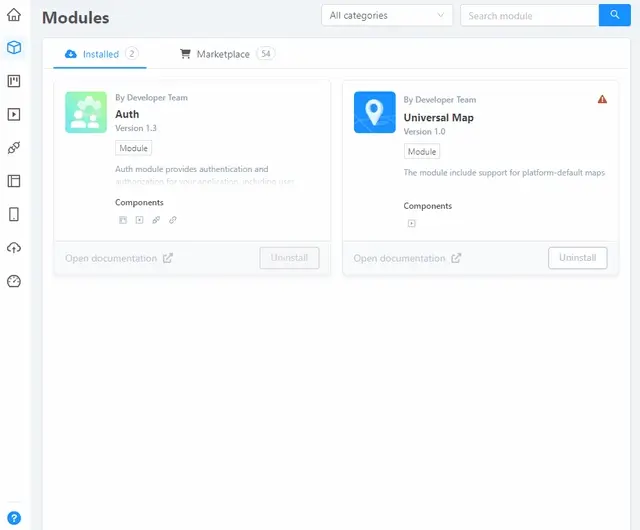
User groups are created in the settings of the Auth module. To go to the module settings, you need to open the Modules section and click on the card of the corresponding module.
The Groups tab contains a list of all existing groups. Click Add a new element to create a new User group. In the new modal window, you can customize the group, add a description, icon, icon and label color, and tag.
To edit existing user groups, you also need to go to the settings of the Auth module. To do this, go to the Modules section and click on the card of the corresponding module. Next, in the Groups tab, a list of groups will be available, to edit it you need to click on the settings icon. In the new modal window, you can customize the group, change its description, icon, icon and label color, and tag.

To change the rights of reading/writing entries in the database for certain user groups, the Middleware of the Auth module is used.
In the Endpoints section, select the Endpoint whose read/write permissions you want to change. Click on the settings button in the desired Endpoint and go to the Middleware tab in the modal window that opens. Next, by clicking on Edit settings in the line with Token Auth Middleware, set up access rights.
Access to pages in the web application: You need to go to the web application and click on the Settings button of the page you want to restrict access to.
In the Show for groups field, you must select a list of user groups that will be allowed to view this page. By default, the field is empty, and access is allowed to all categories of users.
Access to data by roles is a convenient way to organize information flows for specific groups of users. With the no-code platform AppMaster.io, you can test this feature in a trial.
If you're impressed with the functionality, get our Professional plan, which includes this feature, also binary file export, regular backups, project transfers, and much more. We are waiting for you on the AppMaster.io platform to implement even your most daring projects.
Experiment with AppMaster with free plan.
When you will be ready you can choose the proper subscription.


